I haven’t been much of a crafter the last ten years, but after our holiday to Sweden this summer I am so totally into toadstools! I just had to have them in my Christmas tree this year. After being bummed out that the ones I really liked were already sold out at the stores, I decided to make them myself so I won’t have to wait till next year. 😉
I used a technique borrowed from Twig and Toadstool blog but changed some things to make them hangers instead of planters.
You need a couple of things to make these toadstools:
- thin cardboard or thick paper
- metal wire
- tape
- sciccors
- cotton wool
- brushes
- cotton swab
- tooth pick
- white acrylic paint
- red acrylic paint
- acrylic varnish or transparent glue
From the cardboard/paper you cut a circle and on one side of the circle you cut it to the middle (like a wedge but not really a wedge). You fold the circle onto itself at the “wedge” and tape it together.
With the metal wire you make a hanger. You fold the wire through the cap and tape it on the bottom side.
From the cardboard/paper you fold a stem and you tape it to the bottom of the cap.
You use the cotton wool to fold around the cap and the stem. You can mold it a bit with your fingers until it gets the density you want. After that mine looked like this:

When you are happy with your shape you get the white paint. And you paint all the cotton, twice. If in case you need to fix a part with more cotton, that’s okay, you can just put some more paint on it to get to the shape you want your toadstools to be.
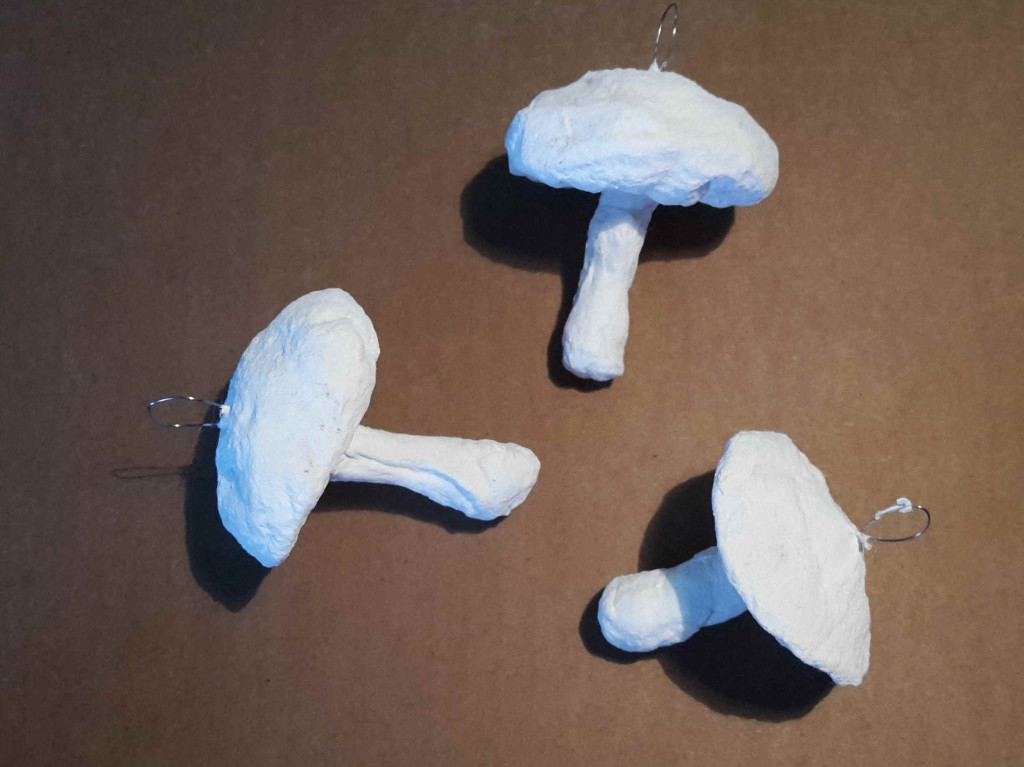
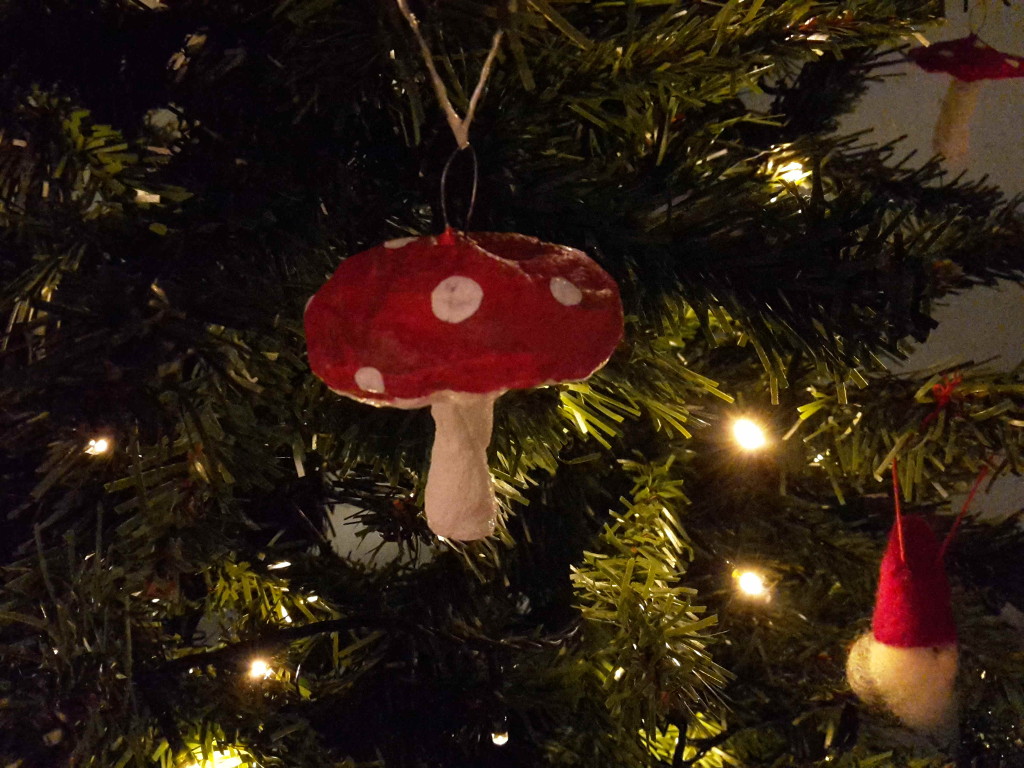
When it’s fully dry, you get to paint your toadstool ornaments in the color of choice. I decided to go “classic” but since it is your creation you can go any way you want! Or maybe, add some glitter to it if you are getting really excited!
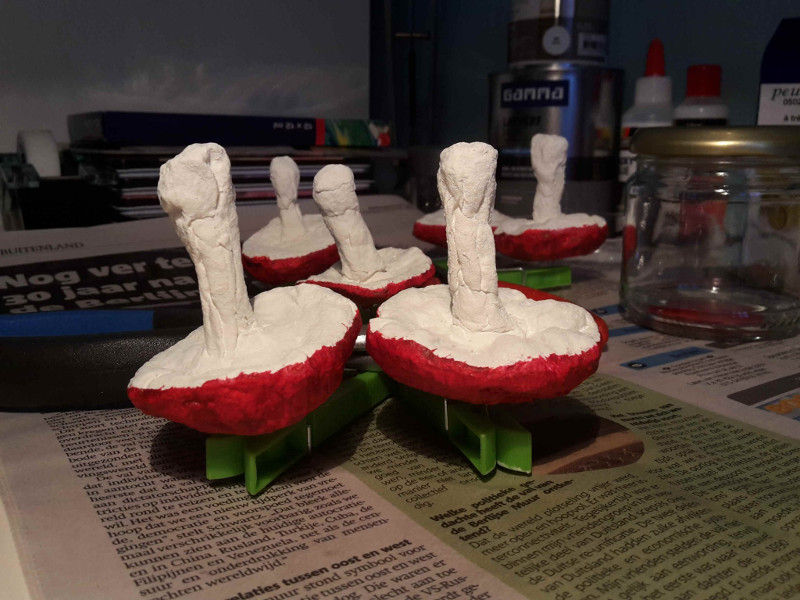
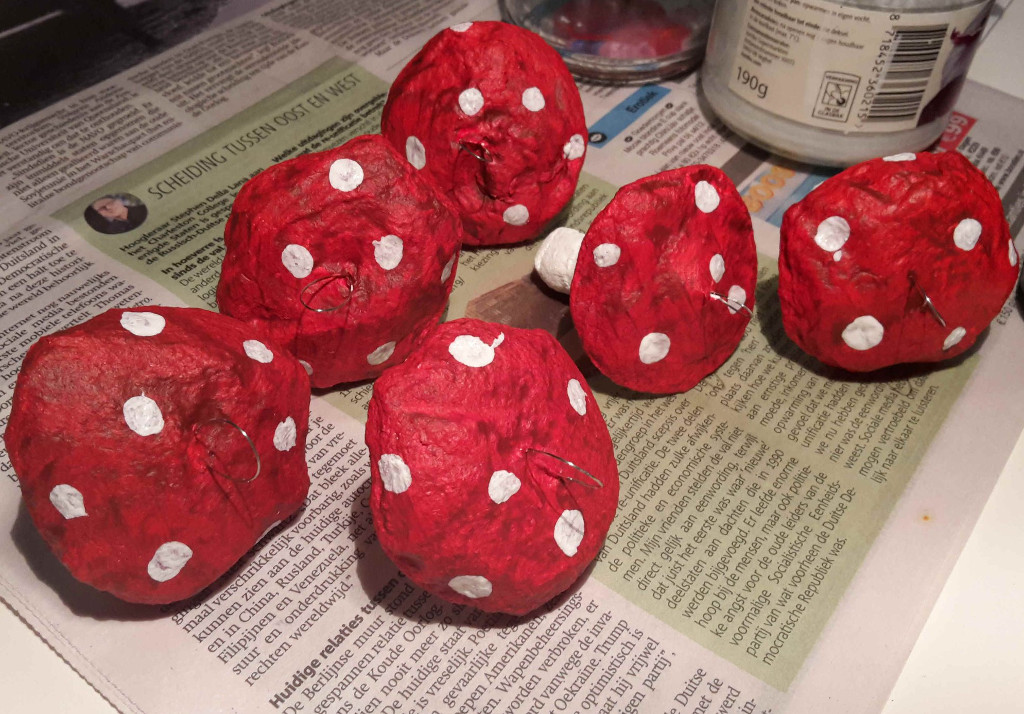
For painting the cap I used two types of red. First a light one and a dark one on top. The not-even look makes it more realistic to me. You can use the cotton swap and the tooth picks to make the spots on the cap. This way it’s easier to get them round. Do try to make your spots seem random… the more random they are, the more natural your toadstools will become.
And as a final touch, you get to varnish the toadstools. If you apply three layers of varnish they will be watertight and you could even use them outdoors!
Even though it took me a couple of weeks because well, life, you can actually do this in a weekend. The paint takes two hours to dry between layers.
Have fun! And if you make your own please share your pictures. I would love to see all the different kind of toadstools appearing around the web. 🙂
Pingback: Snowman ornaments – Spiderwebz
Pingback: 12 days of blogmas 2020: DIY string star ornaments – Spiderwebz